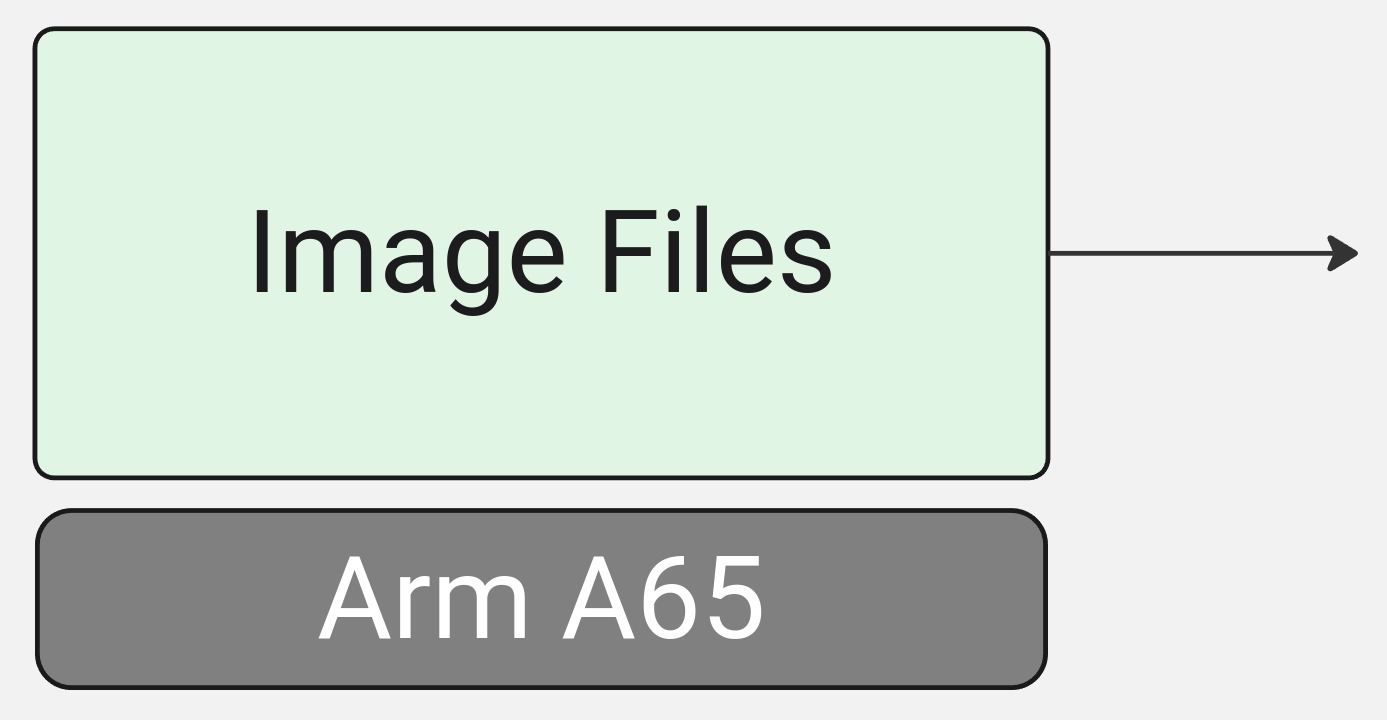
Step 0: Run and verify the input to the application simaaisrc -> fakesink
In order to test our application as we develop it, it is a good idea to start with known input and ensure that we get the expected output from each step in our development.
In this step, we will simply be saving an RGB image from our Python reference application as a binary file that we can easily load on the MLSoC board using the simaaisrc plugin.
We will load the reference image using the simaaisrc (which writes the bytes into the CVU space),
and we will verify that the simaaisrc plugin correctly read, allocated and passed the expected data to the next plugin (in this case fakesink.
Tip
Use fakesink whenever you are just debugging the pipeline and do not have a proper sink for the results of your intermediate pipeline.
Generating and verifying the input from our local host machine
In the original python sample code, we already had logic in order to dump a binary form of the RGB frame that OpenCV loaded. Lets take a look at that frame using the debugger in Python and take a look at the first 4 pixels in a flattened buffer:
First, ensure that the variable
SAVE_OUTPUTS_FOR_DEBUGis set toTrueNext, put a break line in the return of the
read_image()function.Finally run the script with debugging with the input
golden_retriever_207.jpgimage.In the debug console, let’s take a look at the outputs of the first 4 pixels of the variable
rgb_image.rgb_image.flatten()[:4] > array([83, 69, 42, 82], dtype=uint8)
Let’s now verify the same pixels in the saved binary image to ensure the values are as expected:
sima-user@docker-image-id$: hexdump -C -n 4 ./debug/golden_retriever_207_rgb.bin
00000000  53 45 2a 52                                       |SE*R|
00000004
Interpreting the values, as
uint8as they were saved, we can then verify that the pixels look correct:0x53=>0010 1010=>830x45=>0100 0101=>690x2a=>0101 0011=>420x52=>0010 1001=>82
Tip
Using a website such as RapidTables could help with this conversion.
Copy the
debug/golden_retriever_207_rgb.binto/home/sima/resnet50_example_app/datasima-user@docker-image-id$: scp debug/golden_retriever_207_rgb.bin sima@<IP address of MLSoC>:/home/sima/resnet50_example_app/data
Loading the input with simaaisrc on MLSoC
In this step, we will load the image using simaaisrc and we will verify that the fakesink plugin is receiving the correct buffer.
The GStreamer string
In your MLSoC terminal, go to
/home/sima/resnet50_example_appand create a script namedrun_pipeline.shdavinci:~$ cd /home/sima/resnet50_example_app davinci:~/resnet50_example_app$ vi run_pipeline.sh
Copy the following contents into it:
#!/bin/bash

# Script that will be used to manually debug and verify the GStreamer application

# Constants
APP_DIR=/home/sima/resnet50_example_app
DATA_DIR="${APP_DIR}/data"
SIMA_PLUGINS_DIR="${APP_DIR}/../gst-plugins"
SAMPLE_IMAGE_SRC="${DATA_DIR}/golden_retriever_207_rgb.bin"

# Run the application
export LD_LIBRARY_PATH="${SIMA_PLUGINS_DIR}"
gst-launch-1.0 -v --gst-plugin-path="${SIMA_PLUGINS_DIR}" \
simaaisrc mem-target=1 node-name="my_image_src" location="${SAMPLE_IMAGE_SRC}" num-buffers=1 ! \
fakesink dump=1 > "gst_simaaisrc_output.txt"
Note
Where the parameters for
simaaisrc:mem-target=1: Means we are targeting EV74 CVU memory space (0-> A65 CPU,1-> EV74 CVU,2 or 4-> MLA)node-name="my_image_src": Means we are giving ths plugin the custom name “my_image_src”location="${SAMPLE_IMAGE_SRC}": Means the location of the input we want to loadnum-buffers=1: Ensures we only send one buffer for debugging before terminating the pipeline
You can run
gst-inspect-1.0 --gst-plugin-path=/home/sima/gst-plugins simaaisrcfor more information.Run the script and inspect the first 4 pixels of the
fakesinkdump contained in thegst_simaaisrc_output.txtoutput file.davinci:~/resnet50_example_app$ sudo sh run_pipeline.sh
Saving of the output file takes about 10-15 seconds, wait for it to terminate.
To view the output, run the
headcommand as shown below and compare the first 4 bytes of the file to the expected output.
davinci:~/resnet50_example_app$ head -n 10 gst_simaaisrc_output.txt
    Setting pipeline to PAUSED ...
    Pipeline is PREROLLING ...
    Pipeline is PREROLLED ...
    Setting pipeline to PLAYING ...
    Redistribute latency...
    New clock: GstSystemClock
    00000000 (0xffff9a5d1000): 53 45 2a 52 44 29 51 43 28 50 42 27 50 42 27 4f  SE*RD)QC(PB'PB'O
    00000010 (0xffff9a5d1010): 41 26 4d 3f 24 4c 3e 23 4c 3e 24 4b 3d 23 4a 3c  A&M?$L>#L>$K=#J<
    00000020 (0xffff9a5d1020): 22 4a 3c 21 4a 3c 21 4a 3c 21 49 3b 1e 49 3b 1e  "J<!J<!J<!I;.I;.
    00000030 (0xffff9a5d1030): 49 3b 1e 49 3b 1e 49 3b 1e 49 3a 1b 48 39 1a 47  I;.I;.I;.I:.H9.G
Success! We get the expected output: hex ->
53 45 2a 52which translates to uint8 ->83 69 42 82. This means we are ready to move on to adding the next plugin to our pipeline.
Note
While this is not a verification of the entire file, it is helpful to spot check each step of the pipeline as we construct it to ensure that we are getting the expected outputs given a known input.
Conclusion and next steps
In this section, we:
Inspected the first few pixels of our reference input image we will use to test the pipeline.
Saved the binary version of that image and copied it over to our MLSoC application directory.
Wrote the first part of our Gstreamer application to load the binary image and write it into CVU memory space.
Verified that the loaded image matches our reference input expectations.
Next, we will add the preprocessing GStreamer plugin targeting the MLSoC EV74 CVU for acceleration.